Why We Took This Route
When planning our Brisbane to Darwin drive, one of the biggest challenges was figuring out a realistic route, especially with time, weather, and road conditions to consider. You can read about the full journey, including our planning, experiences, and lessons learned, in our Brisbane to Darwin Road Trip post.
Because we were relocating for work and travelling in January, our original plan changed quickly. Widespread flooding across northern Queensland ruled out our preferred route, leaving us with no choice but to take the long way around Australia and head north via the Stuart Highway.
In this post, we’re breaking down our exact Brisbane to Darwin drive, including daily distances, overnight stops, and what each day on the road was really like. If you’re planning a similar trip, especially on a tight timeline, this will help you set realistic expectations, and you can read more about the full journey in our Brisbane to Darwin Road Trip post.
Overview of Our Brisbane to Darwin Route
Total Distance – 5135 km
Total Driving Days – 9 days
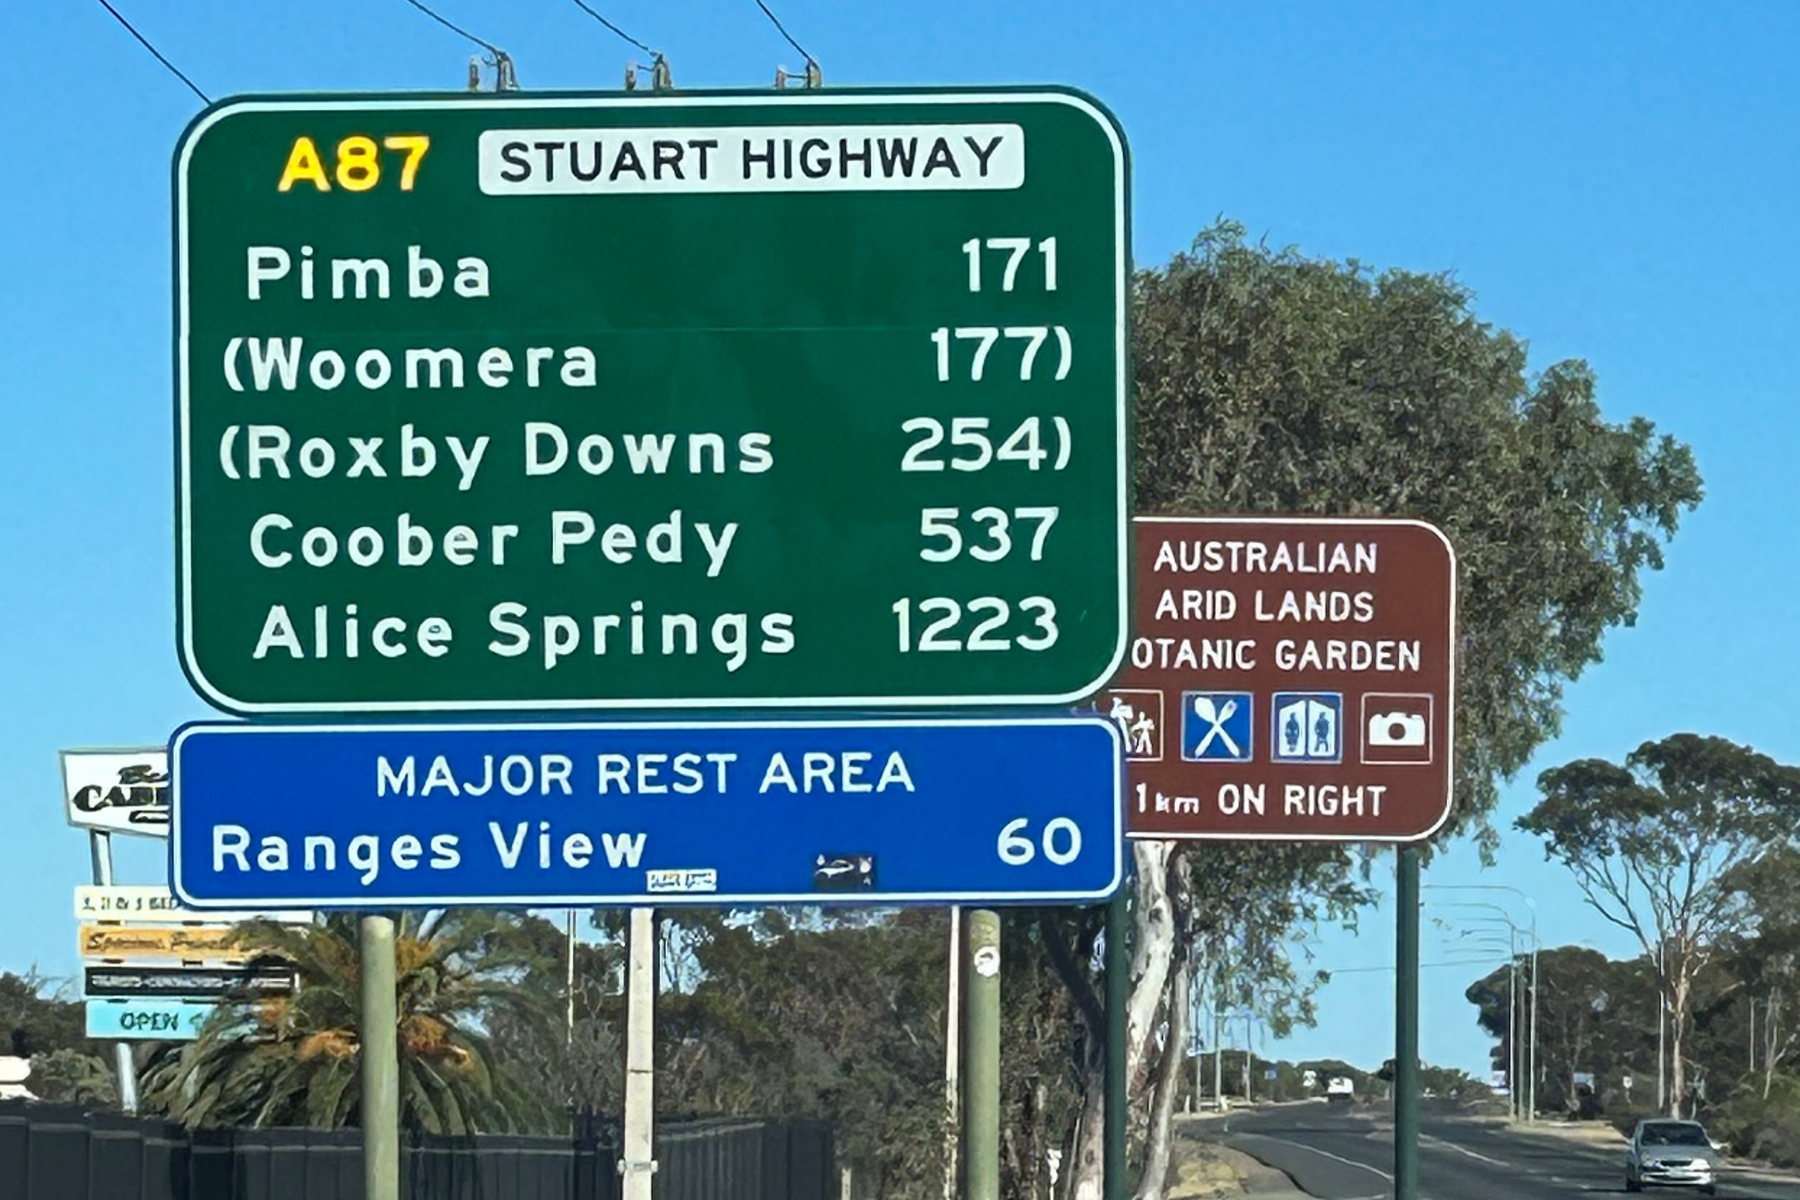
Primary Highways – Warrego Highway, Gore Highway, and Stuart Highway
Travel Style: Fast-paced, relocation-focused
This route is best suited to travellers who are comfortable with long days behind the wheel and need a reliable sealed-road option year-round.
Day-by-Day Drive Breakdown
Below is our exact Brisbane to Darwin driving route, broken down by day. Distances and times are approximate and will vary based on stops, road conditions, and weather.
Day 1: Brisbane to Walgett
Distance: 709 km
Driving Time: 8 hrs 5 mins plus stops
Road Conditions: Smooth, sealed roads, high traffic highway
Fuel Stops: Goondiwindi, Petrol $1.65 per litre
Accommodation: Walgett Motel (3 Star)
Day 2: Walgett to Broken Hill
Distance: 823 km
Driving Time: 8 hrs 40 mins plus stops
Road Conditions: Smooth, sealed roads, low traffic
Fuel Stops: Walgett $1.89 per litre, Cobar $1.89 per litre
Accommodation: Broken Hill Outback Resort (4.5 Stars)
Day 3: Broken Hill
We didn’t do any driving today, instead choosing to spend the day exploring Broken Hill and its many attractions. It was a welcome break from the long hours on the road and a chance to slow down and enjoy the town.


Goondiwindi Sign, Broken Hill Sign, Port Augusta Sign
Day 4: Broken Hill to Port Augusta
Distance: 413 km
Driving Time: 4 hrs 33 mins plus stops
Road Conditions: Smooth, sealed roads, low traffic
Fuel Stops: Port Augusta $1.59
Accommodation: Shoreline Caravan Park
Day 5: Port Augusta to Coober Pedy
Distance: 413 km
Driving Time: 5 hrs 24 mins plus stops
Road Conditions: Smooth, sealed roads, low traffic
Fuel Stops: Glendambo $1.99 per litre, Coober Pedy $2.14 per litre
Accommodation: Stuart Range Outback Resort (4 Stars)
Day 6: Coober Pedy to Alice Springs
Distance: 688 km
Driving Time: 6 hrs 53 mins plus stops
Road Conditions: Smooth, sealed roads, low traffic
Fuel Stops: Marla $2.12 per litre, Erldunda $2.82 per litre
Accommodation: Discovery Parks – Alice Springs (4 Stars)
Day 7: Alice Springs to Tennant Creek
Distance: 508 km
Driving Time: 5 hrs plus stops
Road Conditions: Smooth, sealed roads, low traffic
Fuel Stops: Alice Springs $1.97 per litre, Tennant Creek $1.94 per litre
Accommodation: Outback Caravan Park Tennant Creek


Coober Pedy Sign, Alice Springs Sign, Tennant Creek Sign
Day 8: Tennant Creek to Katherine
Distance: 674 km
Driving Time: 6 hrs 43 mins plus stops
Road Conditions: Smooth, sealed roads, low traffic
Fuel Stops: Mataranka $2.12
Accommodation: Discovery Parks Katherine (4 Stars)
Day 9: Katherine to Darwin
Distance: 317 km
Driving Time: 3 hrs 09 mins plus stops
Road Conditions: Smooth, sealed roads, low traffic
Fuel Stops: Katherine $1.77
Accommodation: Vibe Hotel Darwin Waterfront (4 Stars)


Katherine Sign and the only Darwin Sign we could find
The Longest & Toughest Driving Days
Several days stood out as the longest and toughest of the trip. Day 1 was particularly challenging after taking a wrong turn that added an extra two hours to an already long day on the road. Days 6, 7, and 8 were also demanding, with very long stretches of driving and little in between towns or services. Combined with the heat and humidity, fatigue built quickly, making early starts, regular breaks, and realistic expectations essential to getting through each day safely.
What This Drive Was Really Like
This route wasn’t about ticking off a long list of sights or travelling at a slow pace. Most days began with early starts, allowing us to cover the longer distances in the cooler part of the day and leave some time in the afternoons to explore local attractions or stop at places that caught our interest along the way. We passed through some beautiful landscapes, but the rhythm of the trip was really about pacing ourselves, managing energy levels, and steadily making our way north.
What We Would Change If We Did This Drive Again
If we were to do this drive again, there are a few things we’d change. We would add an extra overnight stop on the longest driving days and build in at least one full rest day mid-trip to break up the long stretches on the road. Travelling during the winter months and allowing more time overall would also make a big difference, turning the journey into something spread over several weeks rather than days and days of driving. There are so many beautiful places to stop and explore along the way, and having that extra time would allow the trip to feel far more balanced. We’d also plan food and fuel stops even more carefully. These small changes would have made a big difference to overall fatigue and enjoyment.
Looking Back On This Journey
Looking back on our Brisbane to Darwin drive, it’s clear just how much this journey tested our patience, endurance, and planning skills, but it also offered incredible rewards along the way. Driving across such vast distances gave us time to reflect, enjoy quiet moments in the outback, and truly appreciate the diversity of Australia’s landscapes, from rolling hills and open plains to rugged desert stretches. While the long days behind the wheel were challenging, we also discovered small joys in the unexpected, a roadside view, a quirky town, or a refreshing afternoon stop.
Planning carefully, starting early, and pacing ourselves were key lessons, and if we were to do it again, we’d make adjustments to reduce fatigue and allow even more time to explore. Ultimately, this route was as much about the journey as it was the destination, teaching us that even when a trip is demanding, it can still be filled with memorable experiences and moments that make every kilometre worth it.
To see the full Brisbane to Darwin drive, including all stops, tips, and lessons we learned along the way, visit our Brisbane to Darwin Road Trip: The Ultimate Planning Guide post.